Hi, I'm Jill from
Spaces for Faces. I'm excited to get to share a little something of what I do, here on Love Thy Neighbor Crafts! Thanks for having me, Terrie! This week, Spaces for Faces is turning ONE! We are happy to celebrate our birthday with this tutorial and giveaway!
I'm really excited about a new product that is debuting today at
spacesforfaces.com. It is called the Neighbor Gifts Printables Pack. This product was inspired and created due to desperation! We live in a very friendly neighborhood, and come Christmas time we exchange gifts with as many as 50-75 different neighbors! Time and money spent on those gifts can really add up! So I searched for and developed as many cute and affordable gifts that I could find. These gift designs can now be found in one great package at
Spaces For Faces! The Neighbor Gifts Printable Pack contains 25 different printables perfect for quick, affordable, and easy neighbor gifts! Can you say "life saver"?!!
For Love Thy Neighbor Crafts fans, I have given a Printables Pack to Terrie to give away. Make sure you read her post about how to enter! And to celebrate our birthday, I am going to give all Love Thy Neighbor Crafts readers one free printable download! Click on the link below to download your free printable!
The free printable you are receiving is a Notepad Cover. The Notepad Covers come in two sizes: 3x5 and 5x8. I was able to find a pack of 3 notepads (both sizes) for $1.44 at Wally World. That's only $0.48 per gift! Perfect!
The following is a quick tutorial on how to use the free download. I am a visual person, so be prepared for A LOT of pictures! Ready? Here we go:
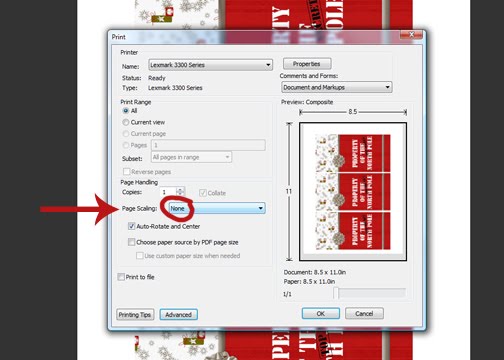
First of all, open the PDF file that includes your Notepad Cover by clicking on it. In the upper left hand corner of the screen, hit the print button. A popup box will appear. About half way down, you will see an option called 'PAGE SCALING'. Now this is important. Make sure you change it to say 'NONE'. That way the Printable will print at the correct size. Then push okay and print.
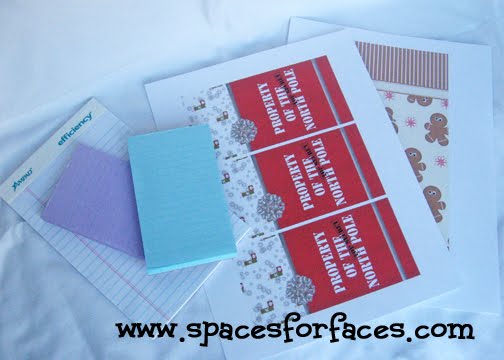
To complete this project, you will need the Printable, a notepad and some adhesive.
Cut out your printable.
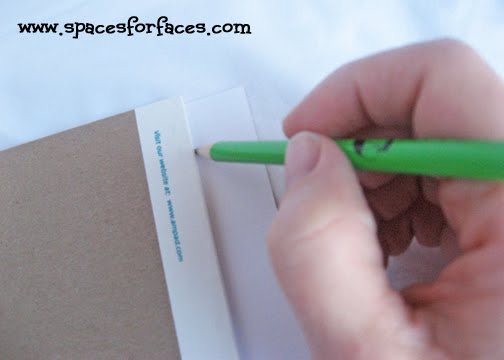
Line up the printable so it fits correctly on the front of the notepad.
Then take a pencil and draw a line on the back of the printable where the top of the pad ends. There is probably a more scientific way to do this...but I'm too lazy to figure it out. :)
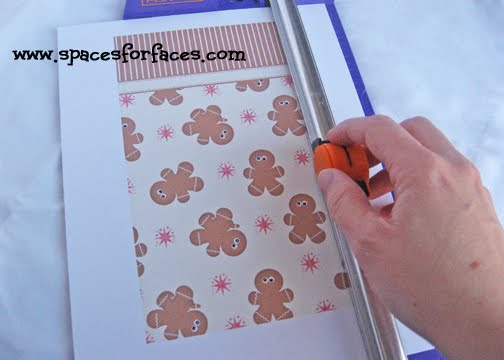
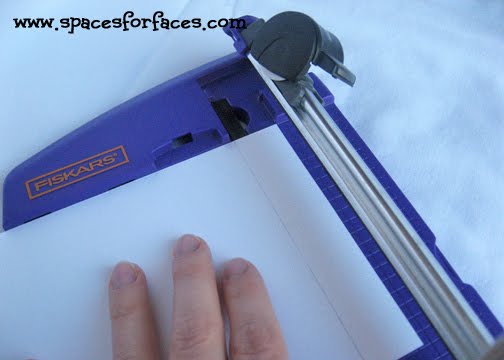
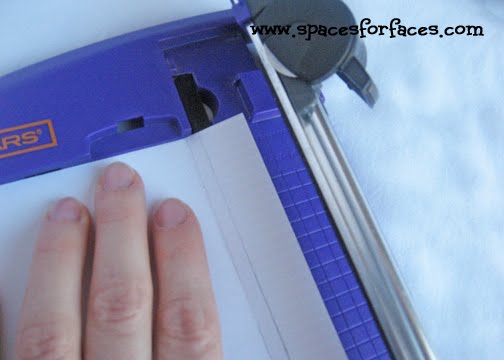
Use a scoring blade to score along your pencil line or just fold along the line. This will be the fold that goes over the top of your notepad.
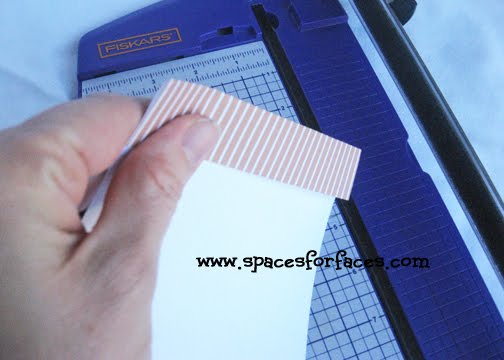
Place the printable on your notepad with the design lined up over the front of the pad and the fold going over the top. Lay the top of notepad down onto the printable and mark along the top and back of the notepad.
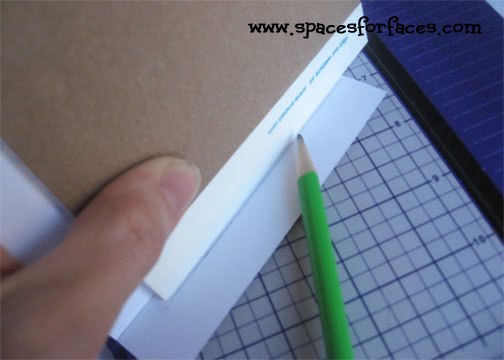
Use your scoring blade or fold along the second line.
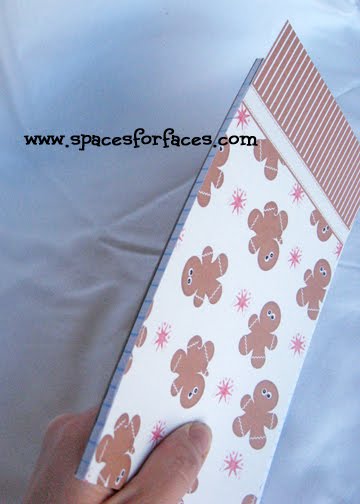
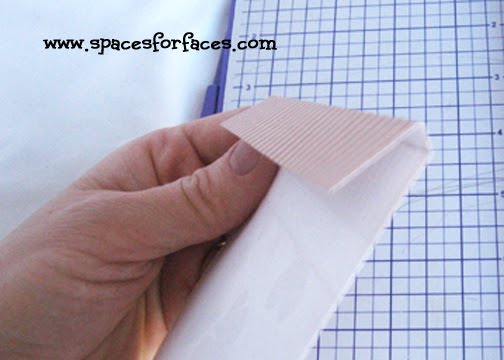
When you have marked and folded the printable, it should look like this. The long section of the printable will cover the front of the notepad, the smallest top folded area will be on the top of the notepad, and the last section will be on the back of the pad. Make sense?
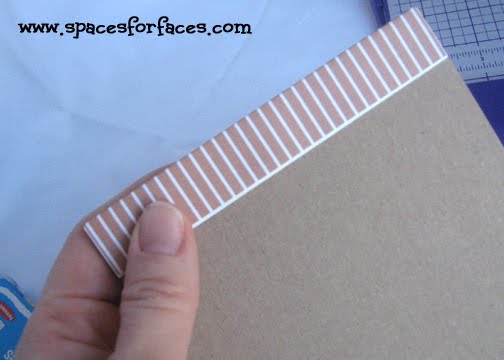
Use adhesive to glue the printable to the binding section of the notepad. I actually just used mounting squares cause that's all I had. If I were making this for a neighbor I would probably use a glue stick. I put squares on the front, top and back for this notepad. The small notepads I bought didn't have binding on the front, so I just stuck it on the top and the back and that worked just fine.
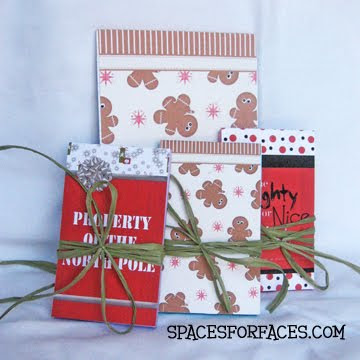
Tie some ribbon or raffia around it and there you have a super cute and super affordable gift for all your favorite neighbors!


1 comment:
What a great idea, Jill! I love the tutorial. I will be making my way over to Spaces for Faces to check out your new products. Great job!
Post a Comment